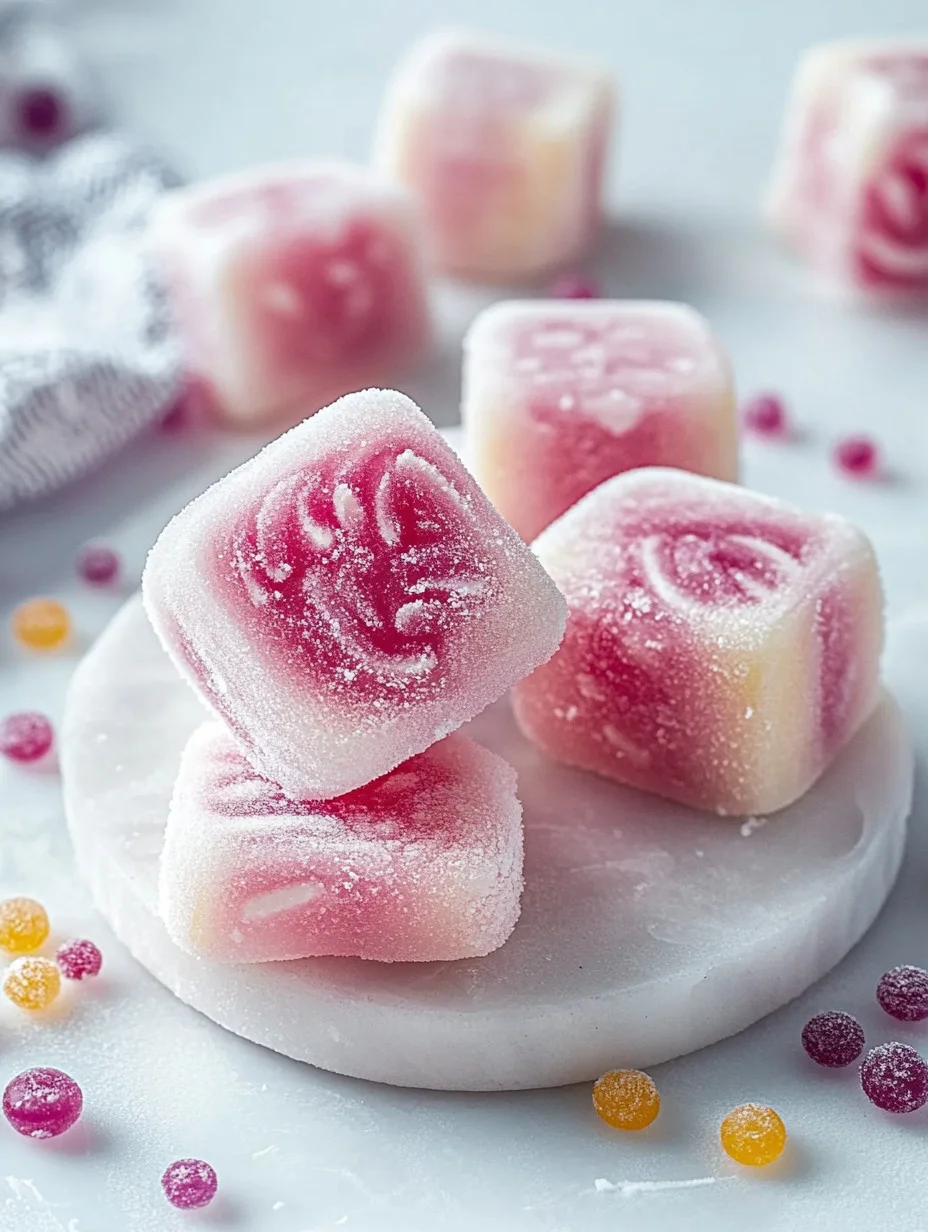
Ah, summer! The sun is shining, the days are longer, and your kids are eager for some sweet treats to beat the heat. Enter iced candy—the ultimate cool-down delight! If you’re like me, always looking for a fun, simple, and delicious way to keep the family happy on a hot day, this recipe is about to become your summertime staple. So grab a seat, put on your apron, and let’s create something that will make your taste buds dance!
Why You’ll Love This Iced Candy
Let’s face it: when the temperatures rise, we all crave something cold and refreshing. Iced candy hits that sweet spot while allowing you to get creative with flavors. Plus, it’s a great way to get the kids involved! They can help with mixing and pouring, and we all know a little kitchen chaos never hurt anyone (unless it’s in the form of spilled juice—yikes!).
Ingredients
Here’s what you’ll need for your iced candy adventure:
- 2 cups of fruit juice (think vibrant options like orange, grape, or even a tropical blend for the adventurous!)
- 1/2 cup of sugar (depending on how sweet you like it)
- 1 cup of fresh fruit pieces (like berries, mango chunks, or whatever’s in season)
- Ice pop molds (because let’s be real, they’re a must!)
Pro Tip: You can experiment with low-sugar juice if you’re looking to keep things a tad lighter. Who says healthy can’t be fun?
Steps to Make Your Iced Candy
- Mix It Up: In a bowl, combine your fruit juice and sugar. Stir until the sugar is dissolved. Get those arm muscles working—this is a workout with benefits!
- Add the Extras: Toss in your fresh fruit pieces. Make sure they’re in bite-sized bits; after all, you want your guests to enjoy this cool treat without choking on a giant strawberry!
- Pour and Freeze: Carefully pour the mixture into your ice pop molds. Leave a little room at the top—trust me, you don’t want any spill-over drama in your freezer.
- Insert Sticks: If your molds don’t come with sticks, grab some wooden popsicle sticks. Slightly push them into the molds about halfway so they stand straight up.
- Freeze!: Pop those babies in the freezer for about 4-6 hours. During this time, resist the urge to open the freezer every 30 minutes to check on them. I know the excitement is real, but patience is a virtue!
- Serve and Impress: Once frozen, run warm water over the molds for a few seconds to loosen them up. Carefully pull out your creations, served best on a hot day (or honestly, any day ending with “Y”).
Cooking Tips
- Flavor Fusion: Combine different fruit juices for a one-of-a-kind flavor mix. Just like your favorite grocery store snacks, variety is key!
- Unexpected Ingredients: Feel like being adventurous? Add a splash of coconut milk for a creamy texture or a handful of herbs like mint to elevate the flavor (and your street cred as the cool mom!).
- Messy but Fun: If things get messy (and they will), embrace it! Just think of it as a celebration of creativity in the kitchen. Now that’s a fun family story!
A Slice of My Life
This iced candy recipe brings back memories of my summer childhood days. My sister Patricia and I would spend hours creating our versions of this delight, often becoming so desperate to taste them that we’d dig into the freezer long before they were fully set. And honestly? That slightly slushy treat was just as enjoyable as the finished product! It’s one of those simple joys that makes every summer feel special.
FAQs
Can I substitute fruit juice in this recipe?
Absolutely! Feel free to get creative with your flavor choices—just make sure they’re juice-based liquids, as we want to keep it refreshing!
How can I store leftovers?
If you’re the type to actually have leftovers, you can wrap them tightly in plastic wrap and keep them in the freezer for up to a month. Just don’t take too long—these are best when enjoyed fresh!
The Coolest Summer Treat
Iced candy captures the spirit of summer while being incredibly easy to whip up. It’s a quick solution to the age-old question: “What should I do with the kids this weekend?” Whether you decide to keep it simple or spice it up with creative twists, this icy treat is bound to bring smiles all around. So go ahead, cool off your day with some homemade iced candy—your taste buds (and possibly your kids) will thank you for it
For more recipes check my
Dandelion Candy
From weeknight dinners to decadent desserts, there’s something for everyone. Let’s keep these homemade treats coming!
Print
Refreshing Iced Candy
- Total Time: 370 minutes
- Yield: 4 servings 1x
- Diet: Vegetarian
Description
Iced candy is the perfect refreshing treat for summer days. Quick, easy, and delicious, this recipe will be a family favorite.
Ingredients
- 2 cups of fruit juice (orange, grape, tropical blend)
- 1/2 cup of sugar
- 1 cup of fresh fruit pieces (berries, mango chunks)
- Ice pop molds
Instructions
- In a bowl, combine your fruit juice and sugar. Stir until the sugar is dissolved.
- Toss in your fresh fruit pieces, ensuring they’re bite-sized.
- Pour the mixture into your ice pop molds, leaving a little room at the top.
- If needed, insert wooden popsicle sticks halfway into the molds.
- Freeze for about 4-6 hours.
- To serve, run warm water over the molds for a few seconds, then carefully pull out your creations.
Notes
You can experiment with low-sugar juice if you want to keep it lighter. Consider combining different fruit juices for unique flavors. Add coconut milk for creaminess, or herbs like mint for an elevated taste.
- Prep Time: 10 minutes
- Cook Time: 360 minutes
- Category: Dessert
- Method: Freezing
- Cuisine: American
Nutrition
- Serving Size: 1 ice candy
- Calories: 120
- Sugar: 20g
- Sodium: 10mg
- Fat: 0g
- Saturated Fat: 0g
- Unsaturated Fat: 0g
- Trans Fat: 0g
- Carbohydrates: 30g
- Fiber: 1g
- Protein: 0g
- Cholesterol: 0mg
